Author: Craig Bond
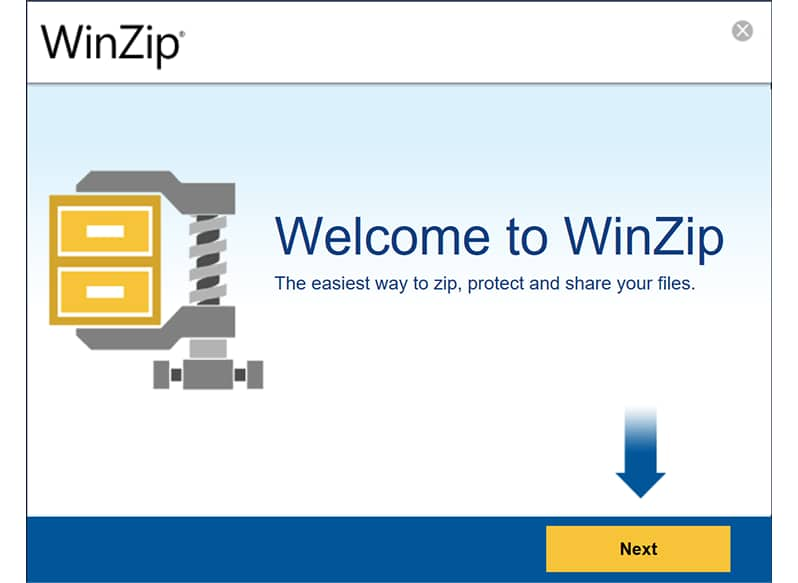
In this video, I'll explain how to encrypt and password protect your files in WinZip, providing step-by-step instructions and a video tutorial.
Learn WinZip in less than an hour. Become a power user in less than a day. Watch our WinZip tutorial guides today!
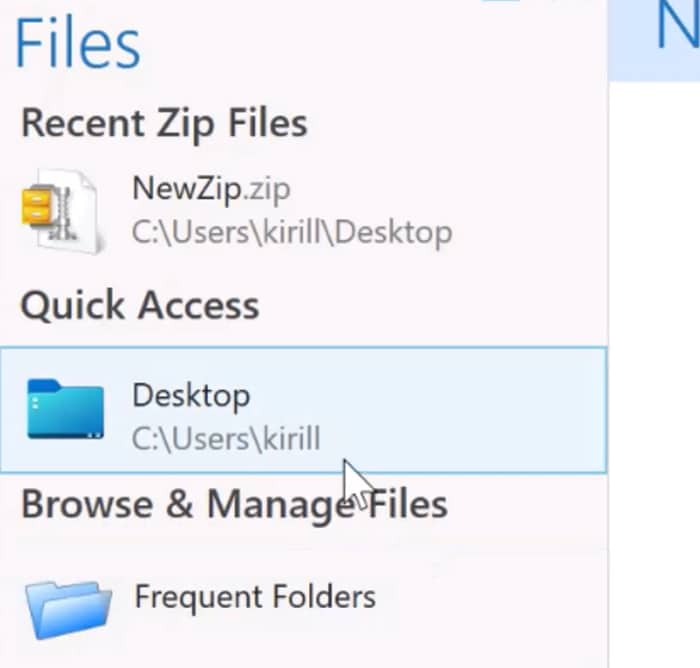
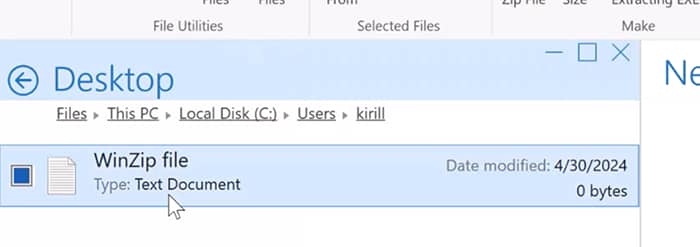
After you've activated your WinZip account, you should start by selecting the file you want to encrypt.
My Windows Desktop folder is pinned to "Quick Access" on the left.
I’ll select that and then the file to encrypt.
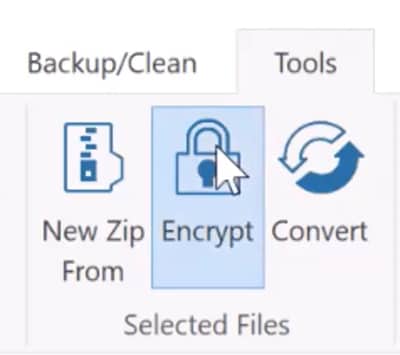
Click the Encrypt option in the Tools tab of the toolbar.
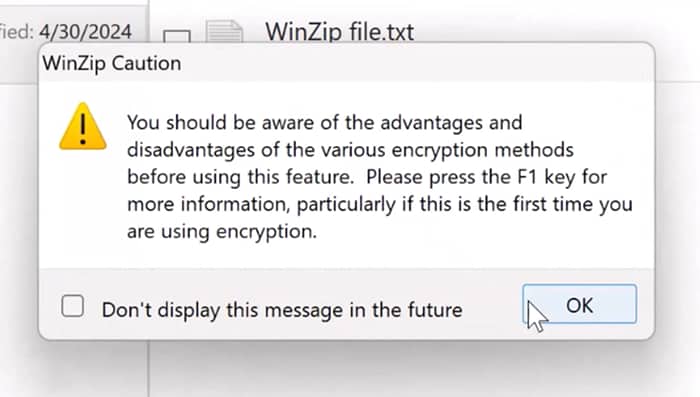
A warning message may appear. Click “OK” to continue.
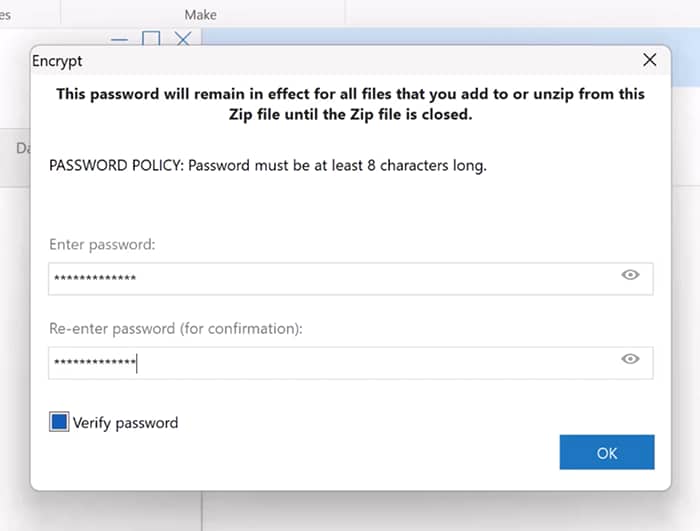
You will be prompted to create a password for your encrypted zip file.
Type your password, then click “OK”.
Click “OK” again.
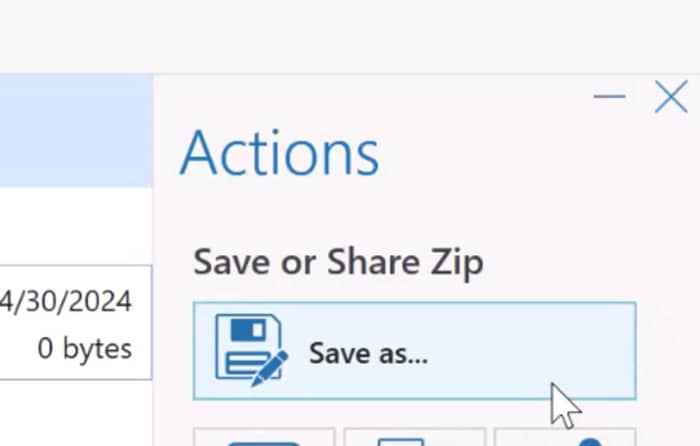
Now, save the Zip file. Click “Save as…” in the Actions pane and enter your filename.
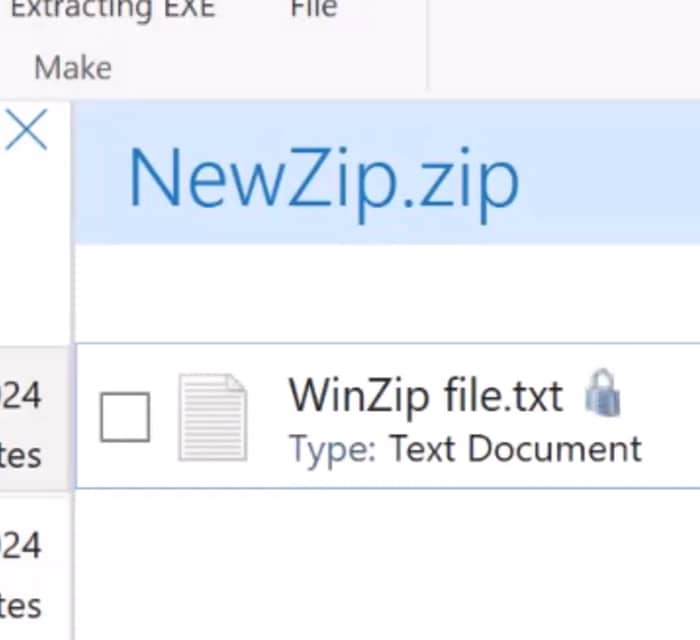
Your encrypted Zip file is successfully created, and password-protected.
Great! You can start learning more now that you've encrypted your file.
For more content, subscribe to our YouTube channel and check out our blog.
Looking for WinZip Enterprise? Learn more